I spent Friday evening and all day yesterday sanding down the finish primer on the boat bottom. Mostly this was all machine sanding, first 180 grit, then 220, then 320. Fortunately I was able to complete the sanding and also the prep work by Saturday evening. Prep work always takes longer than expected - use compressed air to blow off the boat, vacuum the hull, sweep up the tent floor, move items out of the tent that shouldn't get overspray, do a complete solvent wipedown of all surfaces to be painted, and finally, mask off the boat.
Today was the fun part - I sprayed three coats of paint. Yay!
Overall it went well but I think my first coat was the best one - got some runs in the second two coats, not sure if I care enough to sand them out or anything.
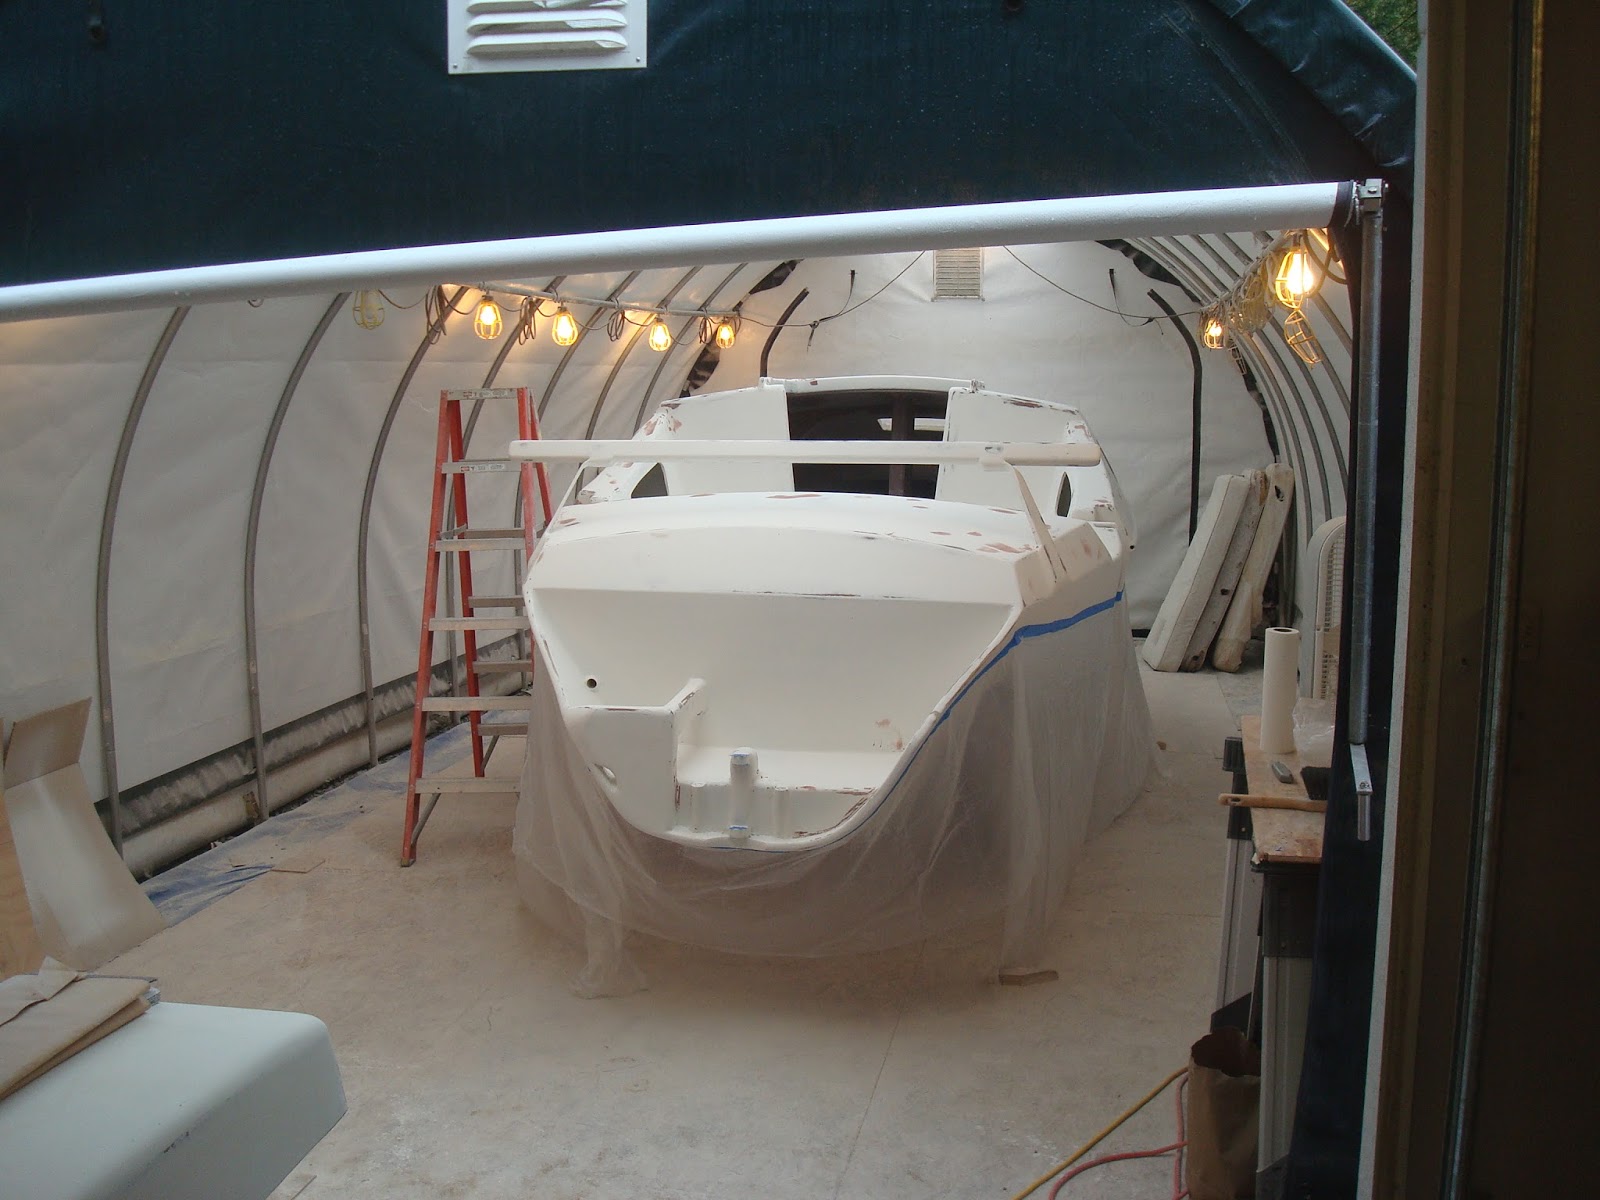
Here's a few pictures, it was getting dark out so these are not the best.
After third coat:
Another one after third coat:
This is after the first coat (you can still see some finish primer lines) but it sure looks nice anyway:
Obviously I will have some paint-line-blending to do when I spray the top of the boat. Not looking forward to that but I've chatted with the Alexseal tech rep and I think I have a plan to get it done. The boat will stay upside-down a week or so, to give the new paint time to cure and to give me time to paint interior areas.
The painting guides always tell you to take notes, normally I never bother but this time I did. For future reference, and in case it helps anyone else:
First coat
Started spraying @9:50am, finished spraying ~10:35am
Outside temp 51 deg F
Mixed 32oz+32oz base+converter, plus 1 capful accelerator
Reducer ratio ~30% (using "superfast" converter)
laid down light coat only
gnats a bit of a problem
Way too much material leftover
Second coat
Tried to pick a few gnat carcasses out of the paint - hard to do
Started spraying @12:50pm, finished at ~1:30pm
Outside temp 61 deg F
Mixed 32oz+32oz base+converter, plus 1 capful accelerator
Reducer ratio ~34% (using "fast" converter)
Laid down a slightly heavier coat this time
Gnats not so bad this time
Still had too much material leftover despite the heavier coat
The higher reduction ratio seemed to work well, I could see "flow-out" happening almost immediately. Cross fingers no runs. Edit: crossing fingers didn't work :(.
Third coat
Tried to pick a few gnat carcasses out of the paint - hard to do
Started spraying @3:30pm, finished at ~4:05pm
Outside temp 62 deg F
Mixed 24oz+24oz base+converter, plus 1 capful accelerator
Reducer ratio ~34% (using "fast" converter)
Laid down a medium coat this time
Not as much wastage this time
Even using an HLVP system, by the time each coat was done there was a lot of overspray in the air. Wish I had a fan blowing through the tent, but I was afraid of blowing dust onto the fresh paint surface, and also of creating an explosion hazard. Ok maybe I'm a 'fraidy-cat but better safe than sorry.
I think my lesson-learned for when I paint the top of the boat, is to keep all coats nice and
thin, so as to avoid runs. On the other hand, you still need enough reduction to get that nice flow-out resulting in that nice shiny surface. I think three thin coats would have still resulted in adequate coverage but without the runs.